Friday, May 6, 2011

chocolate fudge cookies


All I can say is uuuuuuhhhhhhhh, oh my gosh.

Which is probably why they are the first result that comes up when you Google 'choc fudge cookies.' Thank the lord for that because it was a bit of a gamble when running around Woolworths to decide that I didn't want to make jam swirl cookies, I wanted to make something fudgey and delicious. Thank you, iphone! This recipe if from www.joyofbaking.com which I had never been to, but if every recipe is an Americany Awesome as this, it's my new favourite place. They also have a really comprehensive ingredient substitution page which is worth a look.

Ingredients:
1 cup (115 grams) pecans or walnuts
1/2 cup (55 grams) cake flour
1 teaspoon baking powder
1/4 teaspoon salt
1 teaspoon instant espresso powder or instant coffee powder (optional)
1 pound (450 grams) bittersweet or semisweet chocolate, coarsely chopped
1/4 cup (57 grams) unsalted butter, cut into small chunks
1 3/4 cups (350 grams) granulated white sugar
4 large eggs, room temperature
1 tablespoon pure vanilla extract
1 cup (170 grams) semisweet dark chocolate chips
1 cup (170 grams) white chocolate chips

First of all, I didn't use any nuts because I didn't have enough money. Secondly, I used milk chocolate chips instead of dark so we could have a triple-awesome-every-kind-of-chocolate cookie. Thirdly, I take weird American ingredients to mean:

Baking flour=plain flour
Bittersweet or semisweet chocolate=dark cooking chocolate

I haven't checked this, but it worked out fine. Also, I was about 50g short of dark chocolate. Got that? Okay, let's press on.

Method:
1. Preheat oven to 350 degrees F (177 degrees C) and place rack in center of oven. Place the pecans on a baking sheet and bake for 8-10 minutes, or until lightly brown and fragrant. Let nuts cool and then chop coarsely. 
2. Sift or whisk together the flour, baking powder, salt, and espresso powder.  
Melt the chocolate and butter in a stainless steel bowl placed over a saucepan of simmering water, stirring until smooth. 


Remove from heat and set aside to cool to room temperature. I was in too much of a hurry for that bit, so I left it about 10 mins (and it's freezing here) and that was plenty.

3. In the bowl of your electric mixer (or with a hand mixer), beat the sugar and eggs until pale yellow and thick, about 5 minutes. (When you slowly raise the beaters the batter will fall back into the bowl in slow ribbons.) 

Go Mixmaster, go!
4. Beat in the melted chocolate mixture and vanilla extract.  Fold in the dry ingredients to the chocolate batter and mix only until incorporated. Stir in the chocolate chips and nuts. Cover with plastic wrap and 
refrigerate the batter until firm, about 30 minutes (or overnight).

5. Preheat oven to 350 degrees F (177 degrees C) and place rack in center of oven.  Line two baking sheets with parchment paper.  Drop batter by 1/4 cupfuls (60 ml) onto prepared cookie sheets, spacing evenly.
With moist fingers, press batter to form 3 1/2 to 4 inch (9 - 10 cm) rounds. 


Bake cookies about 12 - 14 minutes or until the tops of the cookies become dry and cracked, but are still shiny. Do not over bake. Remove from oven and place baking pan on a wire rack to cool.  When cookies are firm, remove from baking pan and let completely cool on rack.

Don't try and put them on a wire rack--if you haven't overcooked them they should be too floppy when hot to move.

Funny thing is, first batch looked like this:

Oh yeahhh.
  Second batch looked like this:

Oh.

It was either cookie aliens or batch #2's baking tray was too small. That tin was voted off the island for the rest of the batches. Make sure your cookies have plenty of room to move in the oven, because they become quite enormous (have I mentioned they're American?)
 
These cookies are best the day they are baked but can be stored in an airtight container at room temperature for a few days.
Makes about 24 large (giant) cookies.

Verdict: These cookies are the shiznit. I took half the batch to my parents' house and half to my friend's, who was puppysitting for me. Even my mum, who doesn't particularly like cookies, ate two. My friend, I'm fairly sure, has eaten all twelve.


almond pear tart


Every May we have lunch with my parents' ex-commune hippie friends at their house in Bilpin. They have a bed and breakfast and lots of land covered in golden trees and a ride-on lawnmower now. So I make something warming and autumny.

Ingredients:
145g butter
2 cups plain flour
1/4 cup caster sugar
2 tbsp iced water

Poached pears:
3 cups water
1 ½ cups sugar
3 brown pears, peeled, halved and cored

Almond filling:
75g butter
½ cup caster sugar
1 egg
1 1/3 cups almond meal
2 tbsp plain flour
1 ½ tbsp brandy

Method:
1. Place the butter, flour and sugar in a food processor and process until the mixture resembles coarse breadcrumbs. While the motor is running, add enough iced water to form a soft dough. Wrap in plastic wrap and refrigerate for 30 min. 

I find with Donna Hay's shortcrust that it takes a teeny bit more water than she says. But maybe that's because my food processor is a bit of a weakling. 


2. To make the poached pears, place the sugar and water in a saucepan over medium-low heat. Stir until the water is dissolved, then simmer for 5 min. Add the pears and simmer for 15 min or until tender. Remove from water and allow to cool on absorbent paper. 


3. Preheat the oven to 180C (350F). Roll out the paper between sheets of non-stick backing paper to 3mm (1/2 inch) thick and line a 22cm (9in) tart ring. Another thing about Donna Hay's shortcrust is, although delicious, it is very short, which makes it an a-hole to roll out. Just a warning.


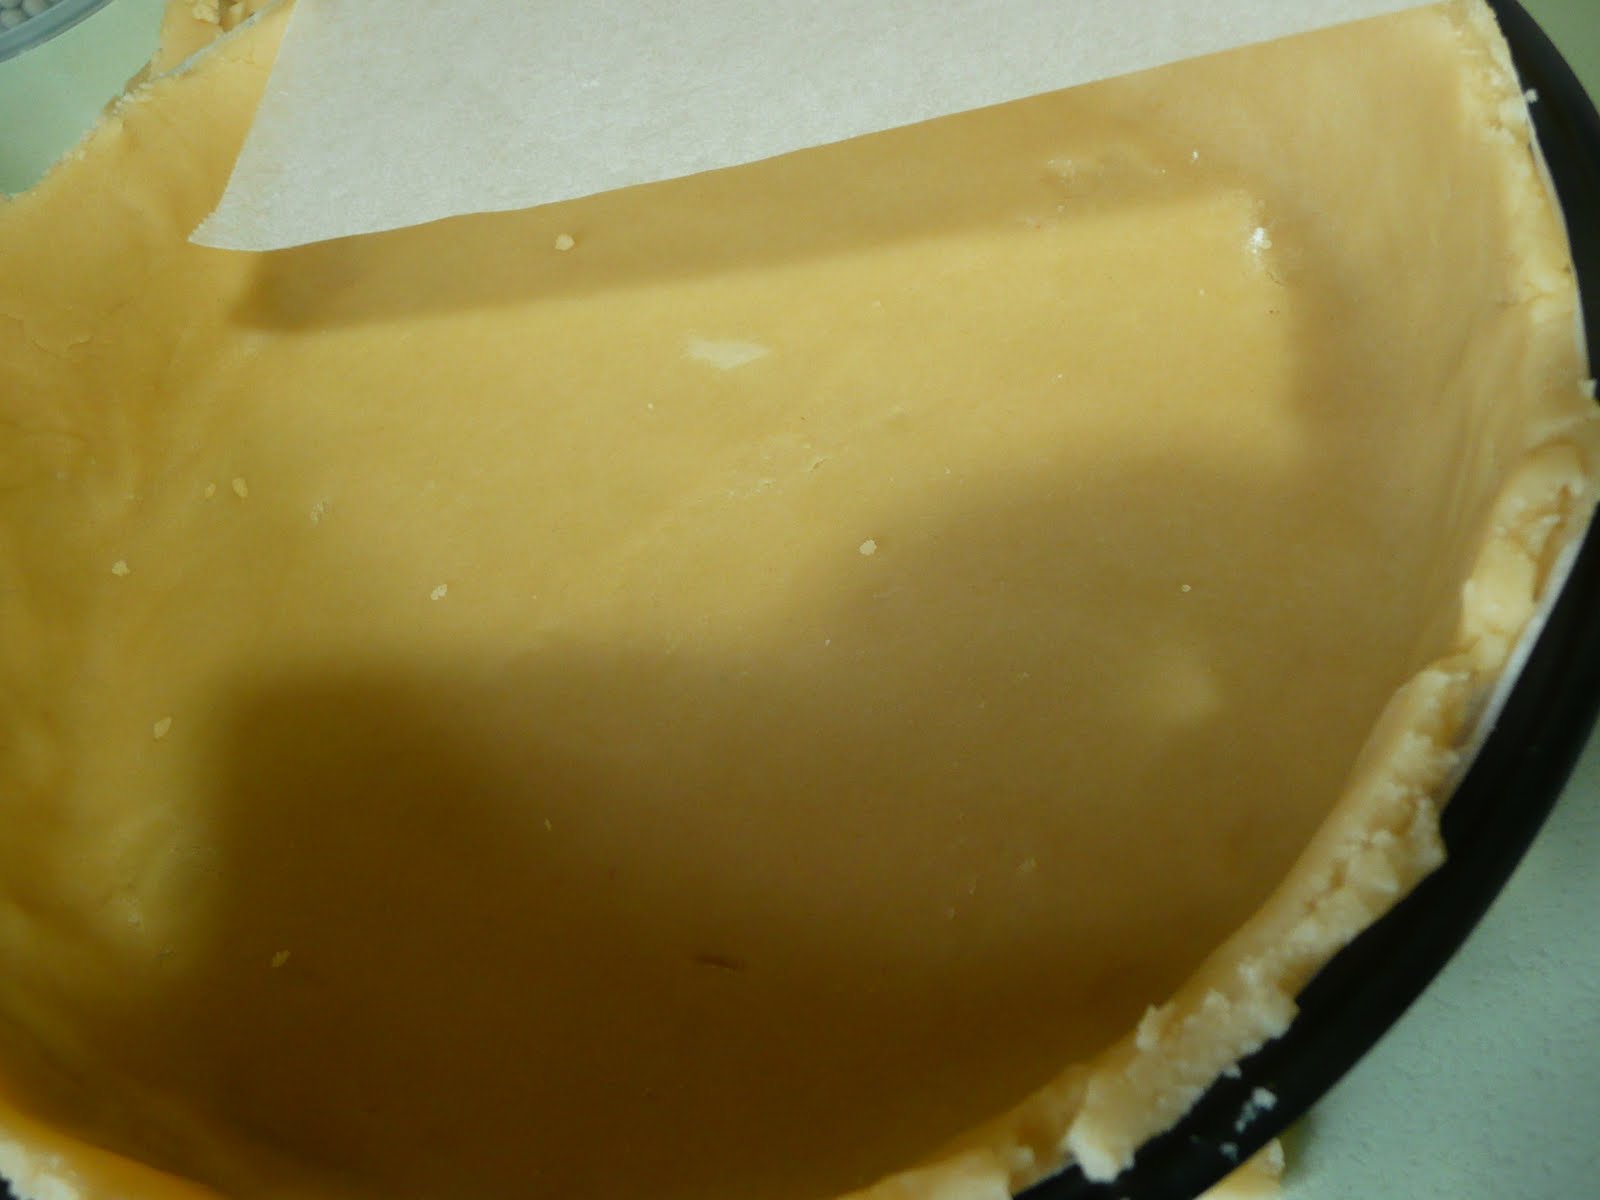
Trim the edge, line the pastry with non-stick baking paper and fill with baking weights or rice. I use dried peas because they aren't as messy as rice. And who wants to buy pastry weights.

Bake for 10-12 min, remove the weights and paper and bake for 10 min or until light golden. Cool.

(I forked it so it didn't bubble)

 4. To make the almond filling, place the butter and sugar in a bowl and beat with an electric hand mixer until light and creamy. Beat in the egg, then fold in the almond meal, flour and brandy. Spread the filling over the pastry.

I didn't want to buy a bottle of brandy so I used 1 tbsp vanilla extract instead.


My almond filling didn't fill the pastry shell very high. It looks like a shallow pool, which makes me feel a bit sad.

Slice the pears, keeping the stem-ends intact, then arrange them over the filling. 


Bake the tart for 50 min or until golden. Serve at room temperature with (single or pouring) cream. Serves 6. 

Verdict: I was quite disappointed that it didn't look like it did in the picture, but I think that had something to do with the size of the tin I used. The almond filling is quite rich so you wouldn't want to pack the thing full, but I feel like it could have done with a bit more. Maybe that's the lack of brandy talking though. Or maybe it's because instead of being cut into 6 slices, it was cut into 17. The pastry was yummy, but a little overcooked, so keep an eye on it. It still looked the part though, with its 'rustic' edges, so I can't complain.


Saturday, April 23, 2011

hot cross buns


Happy Jesus day, everyone! Let's eat  food!

I've been wanting for a while to venture into baking with yeast, and what better time to start than the anniversary of Jesus dying and coming back to life? This recipe is (surprise!) from AWW.

Ingredients:
1 tbsp dried yeast
1/4 cup (55g) caster sugar
1 1/2 cups (375ml) warm milk
4 cups (600g) plain flour
1 tsp mixed spice
1/2 tsp ground cinnamon
60g butter
1 egg
3/4 cup (120g) sultanas (I used more like 1 cup--I like my buns sultana-y)

Flour paste:
1/2 cup (75g) plain flour
2 tsp caster sugar
1/3 cup (80ml water) approximately

Glaze:
1 tbsp caster sugar
1 tsp gelatine
1 tbsp water

Method:
1.  Combine yeast, sugar and milk in small bowl or jug. Be fussy about measuring the yeast—it’s important for success. Cover, stand in warm place about 10 mins or until mixture is frothy.

So far, so good.
  2. Sift flour and spices into large bowl; rub in butter.

Although the recipe calls for room temperature butter, my pastry-making adventures tell me this could get gooey so I use refrigerated. That, and I didn't think ahead. 


Stir in yeast mixture, egg and sultanas. 

Don't make the mistake I did and stir the yeast mixture in completely before adding egg and sultanas--you'll need the milk to help mix the egg in with ease.

Use a wooden spoon until mixture becomes too stiff, then use your hands. Mix into a soft sticky dough. Cover with plastic wrap, then a tea towel. Stand in warm place about 45 mins or until dough has doubled in size. 


3. Grease 23cm square slab cake pan or deep 23cm square cake pan

4. Turn dough onto floured surface; knead about 5 mins or until the dough is smooth, elastic and the sultanas appear to be popping out. Divide dough into 16 pieces (if you can be bothered, weight each portion), knead into balls. Place balls into pan; cover, stand in warm place about 10 mins or until buns have risen to top of pan. This will take about 15 minutes, depending on the temperature of the kitchen and the dough. 


5. Meanwhile, preheat oven to 220C/200C fan-forced.

6. To make flour paste, Combine flour and sugar in a cup. Gradually blend in enough of the water to form a smooth paste. Place in piping bag fitted with small plain tube (I used a zip-lock bag with the corner cut off), pipe crosses on buns. Be generous with the crosses as the buns will rise even further.


7. Bake buns about 20 mins. Turn buns, top-side up, onto wire rack. They should be well-browned and when turned out, should sound hollow when tapped on the bottom with your fingers.

8. To make glaze, stir ingredients in small saucepan over heat, without boiling, until sugar and gelatine are dissolved. 
Seeing as Coles had run out of gelatine (everybody had the same idea as me--losers) I only had leaf gelatine left over from an abandoned Christmas idea. Now if you're not familiar with the Great Leaf Versus Powdered Gelatine Debate, don't bother because it's ridiculous. Basically, conversion from leaf to powdered gelatine is one of the oldest mysteries of civilization and we are no closer to an answer. So, I did a bit of reading, took a guess and decided one leaf of gelatine (mine is titanium strength). Dissolving it in water didn't work at all so I ended up chucking a sheet in the saucepan with the sugar and water and it worked okay, I just need to stir for ages. 

Brush hot buns with hot glaze. Cool on wire rack. 

Verdict: Effing delicious. I love Jesus.


egg-free ginger jumble cake

 
Going to eat delicious homemade Indian food at a friend's place. Obviously, a good guest brings dessert. What does a good guest do when one of host's children has a severe egg allergy? Go to the 'Allergy-Free Baking' section of AWW, of course!

Ingredients:
185g butter, chopped coarsely
¾ cup (180ml) golden syrup
½ cup (100g) firmly packed brown sugar
¾ cup (180ml) water
2 ¼ cups (335g) plain flour
1 ½ tsp bicarb soda
1 ½ tbsp ground ginger
1 ½ tsp mixed spice
¼ tsp ground clove

Method:
1. Preheat oven to 180C/160C fan-forced. Grease 23cm square slab cake pan; line base with baking paper
2. Stir butter, golden syrup, sugar and water in medium saucepan over heat without boiling, until butter is melted; cool 10 minutes.


My new 23cm tin. It's so amazing. It has a removable base.

Stir in sifted flour, soda and spices. Pour mixture into pan.  

This whole stirring-flour-into-liquid idea was a bit of a disaster. Stir the liquid into the flour with a whisk, instead.


3. Bake cake about 40 mins. Stand cake in pan 5 mins. Turn top-side up onto wire rack to cool. 

Check the cake after about 30 mins, as mine didn't take the full 40 to cook.
Verdict: Not the best cake for kids, as the flavours are warm and spicy and a little rich. But the cooking legend who made our dinner was impressed, so that's enough for me!


raspberry coconut slice


It's slice time with Eds! This was the only thing in AWW we had all the ingredients for without leaving the house, cos Baywatch was on.

Ingredients:
90g butter, softened
½ cup (11g) caster sugar
1 egg
¼ cup (35g) self -raising flour
2/3 cup (100g) plain flour
1 tbsp custard powder (Hmmm, no custard powder. My friend google informs me I can use cornflour instead)
2/3 cup (220g) raspberry jam

Coconut topping:
2 cups (160g) desiccated coconut
¼ cup (55g) caster sugar
2 eggs, beaten slightly

Method:
1. Preheat oven to 180C/160C fan-forced. Grease 20cmx30cm lamington tin; line base with baking paper, extending paper 2cm over long sides.
2. Beat butter, sugar and egg in small bowl with electric mixer until light and fluffy. Transfer mixture to medium bowl; stir in sifted flours and custard powder. Spread into pan; spread with jam.

 
3. Combine ingredients for topping in small bowl.


Sprinkle over jam.


4. Bake slice about 40 mins; cool in pan before cutting.


Verdict: Quick, easy and delicious! The absence of custard powder was not an issue at all. Extra amazeballs when eaten fresh out of the oven.

peanut butter spice cake


You know when you get a puppy and he's really cute but really badly behaved so you get your dog behaviourist friend to come visit you and teach you how to raise a nice dog, and you feel bad about her travelling such a long way so you make a peanut butter cake? That's what happened to me.

Ingredients:
30g butter, softened
¾ cup caster sugar
5tbsp smooth peanut butter (at room temperature)
1 large egg
1 1/3 cups self raising flour
Pinch salt
½ tsp each ground cinnamon, nutmeg and ginger
¼ tsp ground cloves
1 cup buttermilk (or 1 cup milk soured with 1 tbsp lemon juice)

Method:
1.  Cream butter with sugar until light and fluffy, then beat in peanut butter. Add eggs and mix well.


I only had raw caster sugar so the creaming part wasn't very creamy. Either that or therejust isn't enough butter in the mixture for it to cream.


I didn't have any cloves so I was a little heavy-handed with the rest of the spices.

2. Sift together flour, salt and spices and fold alternately into creamed mixture with buttermilk, beginning and ending with flour. Turn batter into greased and floured 20cm (8in) square cake tin and place in a preheated moderate oven (180C).


3. Bake for 40 minutes or until a skewer inserted into centre comes out clean. Let cake cool in tin on wire rack for 10 minutes before turning out to cool completely. Serve plain, orice with chocolate icing. 

Verdict: Pretty yummy, but would have been better if the only peanut butter I had wasn't hippy peanut butter that contains only peanuts and no added sugar or salt. I added a little extra salt to make up for this, but it still tasted a little wholesome. Also, the peanut butter was crunchy so the texture was a bit weird. Very moist and fluffy though!


Sunday, March 27, 2011

caramel (hates me) slice


I find that when your sister is in labour late at night and you're going out of your mind with suspense, the best thing to do is make caramel slice.

I have an issue with slices. Although I do make a mean peppermint slice, I always find there's too much base and not enough delicious goop. I hoped that my AWW Bible would take me a bit closer to the perfect caramel slice. I also hoped that it would distract me enough as to not have a stroke on the kitchen floor.

Ingredients:
1/2 cup (75g) plain flour
1/2 cup (75g) self-raising flour
1 cup (80g)desiccated coconut
1 cup (220g) firmly packed brown sugar
125g butter, melted
30g butter, extra
395g can sweetened condensed milk
2 tbsp golden syrup
200g dark eating chocolate
2 tsp vegetable oil

Method:
1. Preheat oven to 180C/160C fan-forced. Grease 20cmx30cm lamington pan; line with baking paper, extending paper 2cm over long sides.

2. Combine sifted flours, coconut, sugar, and butter in medium bowl; press mixture evenly over base of pan.


Now my fingers are sticky
At this stage, I am already suspicious about the large amount of biscuit base so I leave some out (to be eaten raw).

Bake about 15 minutes or until browned lightly.


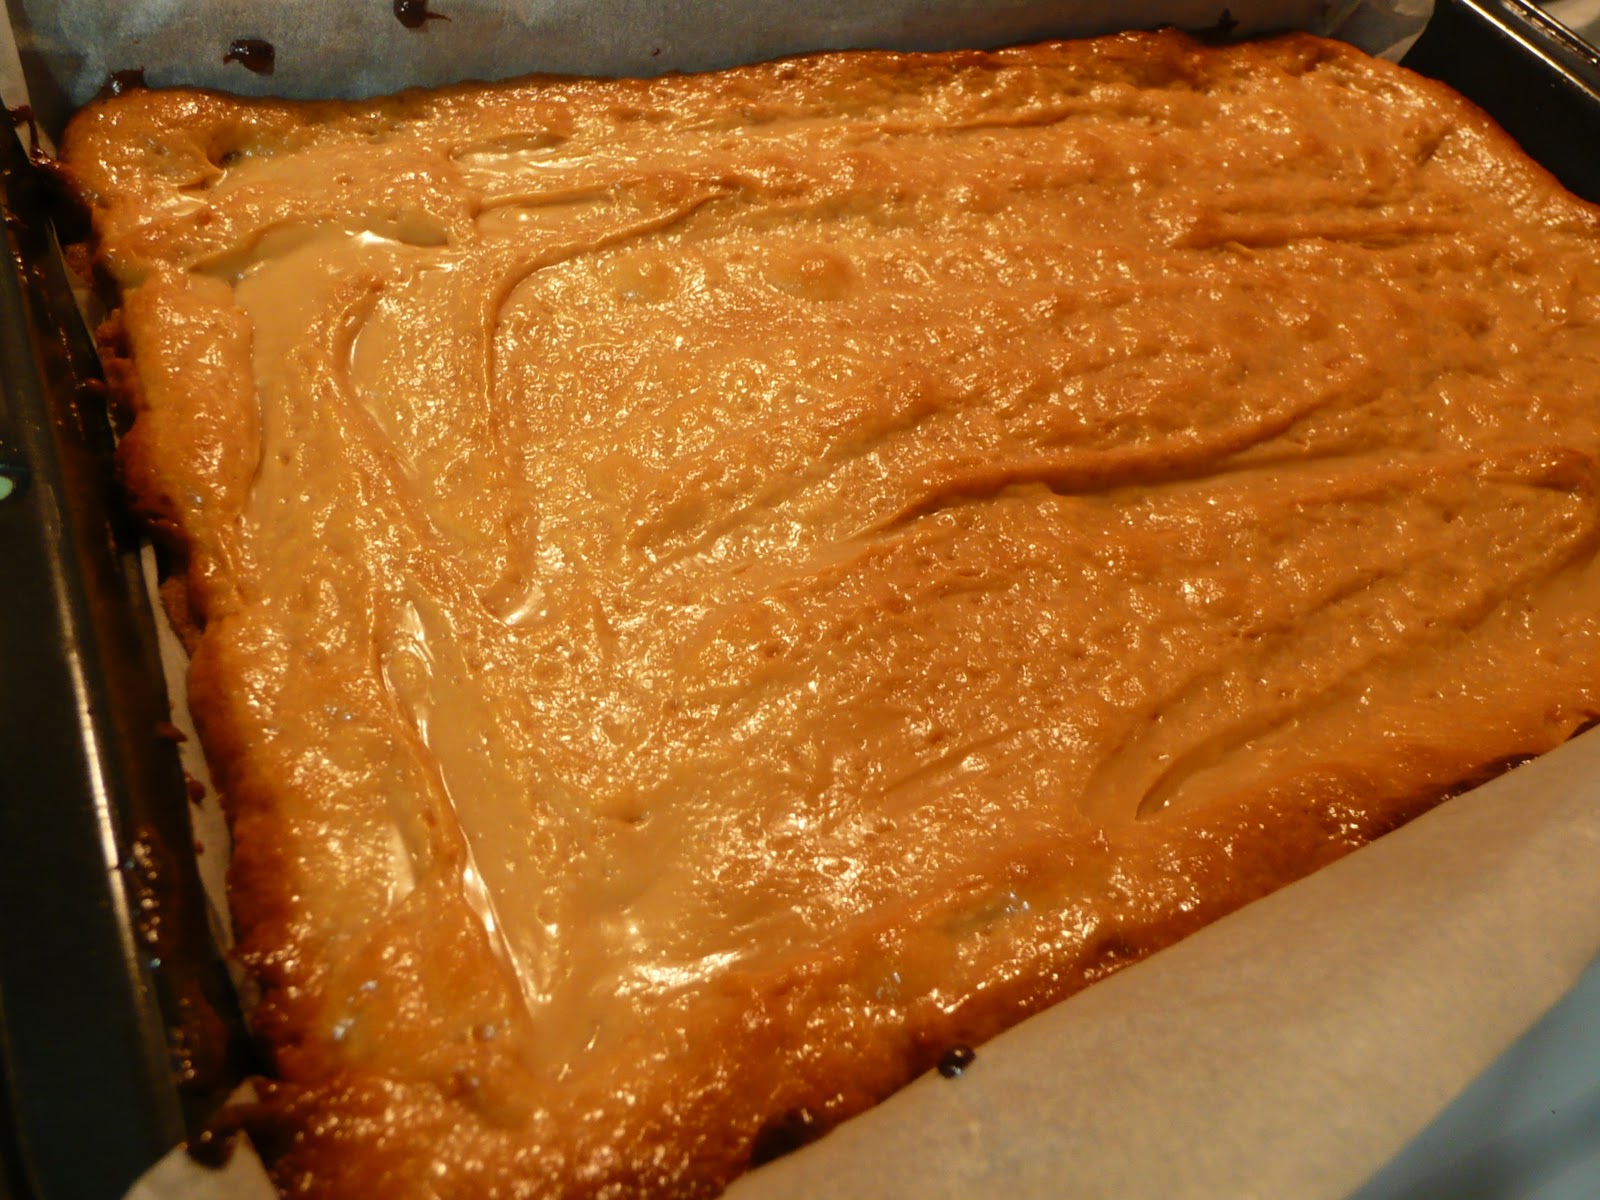
3. Meanwhile, make caramel filling by stirring extra butter, condensed milk and syrup in small saucepan over medium heat for about 10 minutes or until caramel is golden brown; pour over warm base. Bake 10 minutes; cool.


Now here's where caramel hates me (not even including the fact that during the first attempt, I got a baby-update phone call and burnt the condensed milk during my freakout. Then drove to Coles to buy more, getting halfway home and realizing my headlights weren't on. Nervous me should not cook, or drive). This picture is the closest to 'golden brown' that my caramel came and this was taken after 25 minutes of cooking, not 10.

Recently I have had a rather troubled relationship with caramel: Namely, it crystallizing. This is what my caramel started to do at this point, so I gave it a couple more minutes stirring like crazy, and moved on. I am still at a loss to the art of making caramel--AWW says to cook over medium heat, Margaret Fulton says to cook over low heat. Neither stress the importance of stirring SO constantly that you think you're getting RSI, which seems to be absolutely vital to getting a smooth texture. Anyway, my caramel, apart from looking a bit pale and perhaps not tasting quiiite caramely enough, seemed okay.


I'm really not sure why the caramel had to be baked--I'm sure the chocolate would have settled onto it fine after just letting it set, although perhaps baking it stops any chocolate-caramel contamination. Baking it made the edges very dark and burny, which is nice in it's own way, but not for a caramel slice.

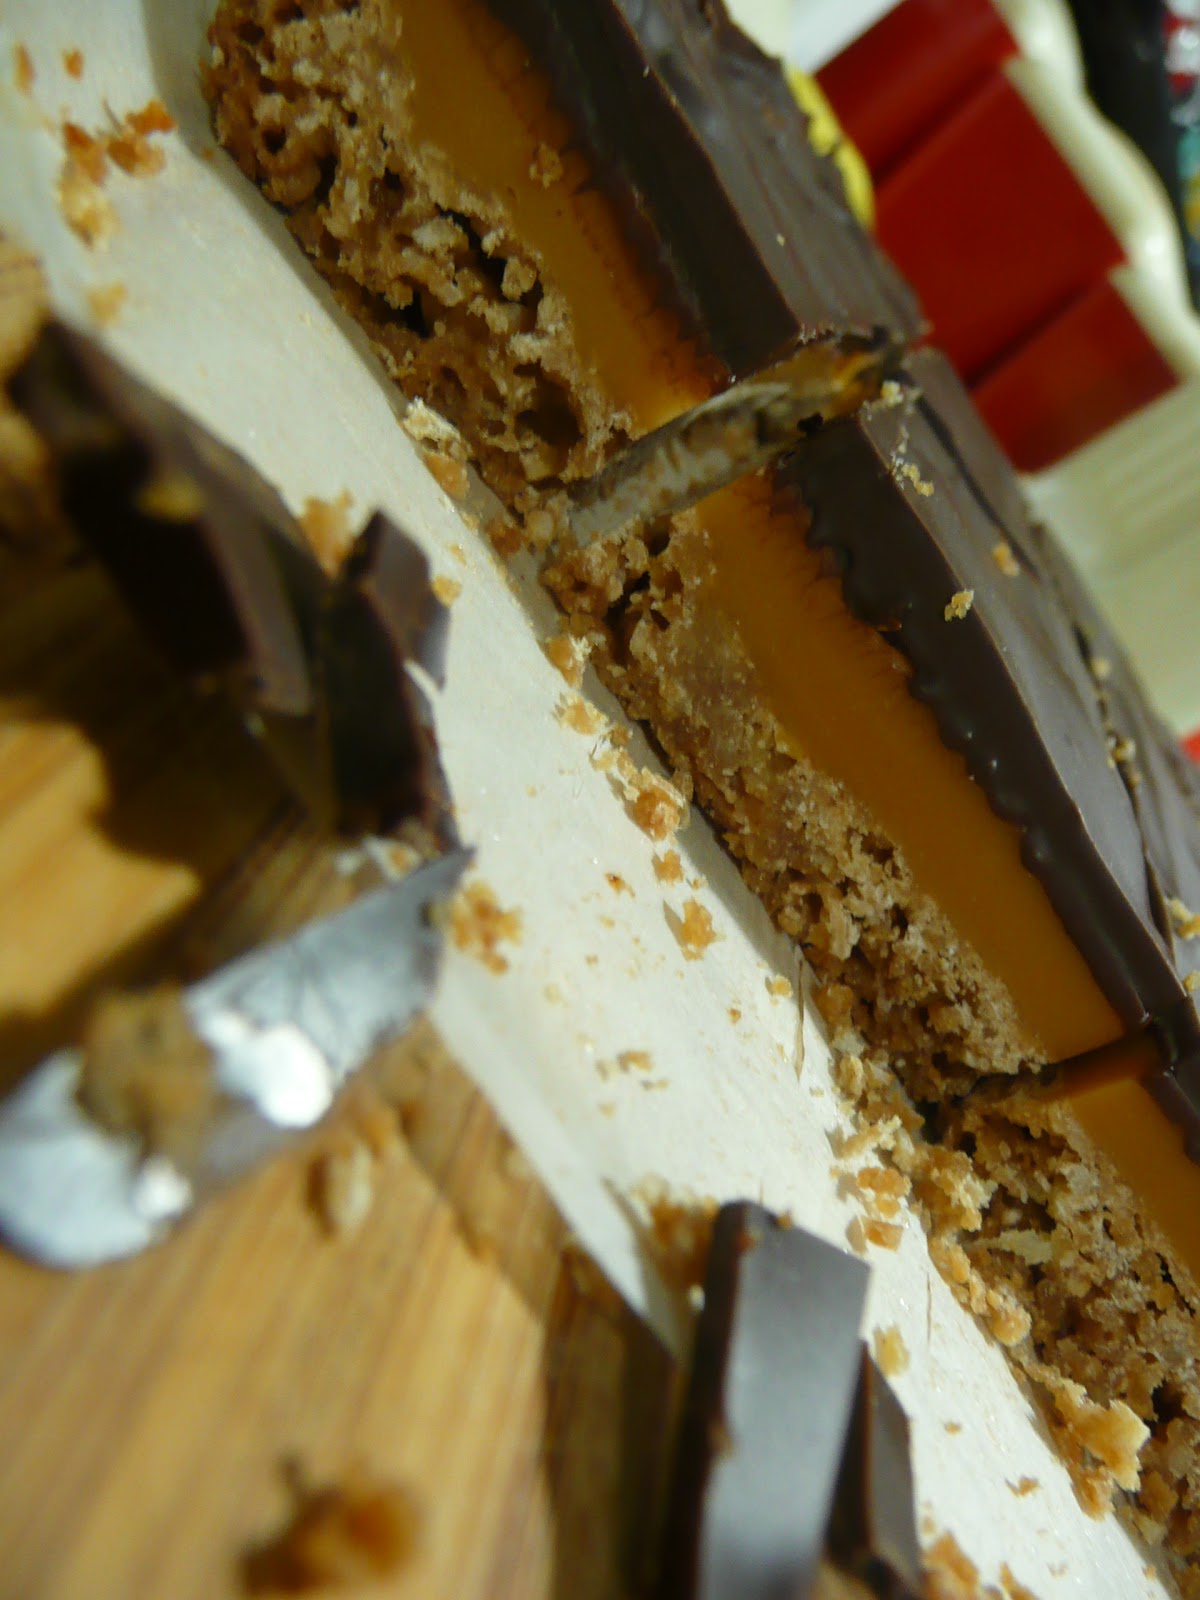
4. Stir chocolate and oil in small saucepan over low heat until smooth; pour over caramel. Refrigerate 3 hours or overnight before cutting.


Verdict: Look, it tastes good. I've had very positive feedback, and not just of the polite variety. The caramel is caramely, despite my angsting over the stove that it just tasted like condensed milk. The base is very crunchy, and I think it may not have been so crunchy if I hadn't let it cool so much while making my emergency supermarket run, before coating it with caramel. But my main issue is, even though I left out some biscuit base, the base vs. caramel vs. chocolate ratio is still to even for me. I want my caramel to be the Hero Of The Dish.


So here are my proposed adjustments:
1. Halve quantity of base
2. One and a half/double the quantity of caramel
3. Cook caramel for 25-30 minutes
3. Bake caramel for 5 minutes, not 10